Friday, 4th August 2023
Are you considering PV solar panel installation but not quite sure what to expect?
Today we are going to explain in detail our installation process and how to look after your panels.
Solar System Components
Solar systems are made up of mounted solar panels and a solar inverter that has a digital controller.
Solar panels produce DC electricity from direct sunlight.
The inverter converts the generated electricity into AC electricity, so that it can be used in the household.
The digital controller manages the solar system and ensures optimal performance.
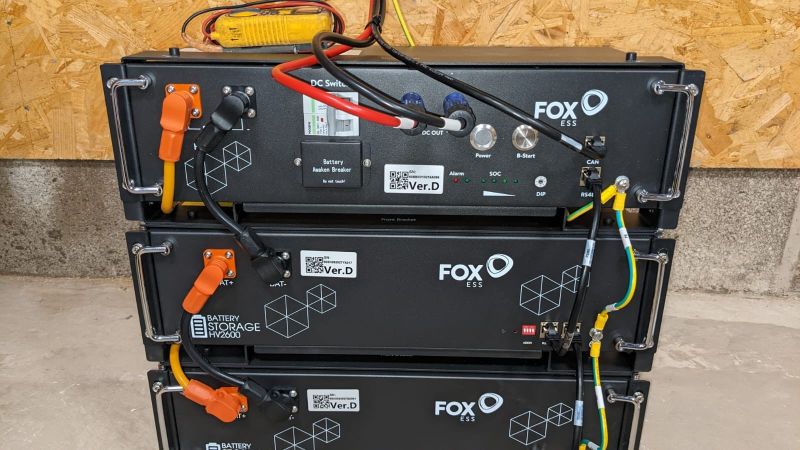
If you want to store energy that you collect and become off-the-grid, a battery storage system can be added at the time of installation, or at a later date.

Solar Panel Installation Process
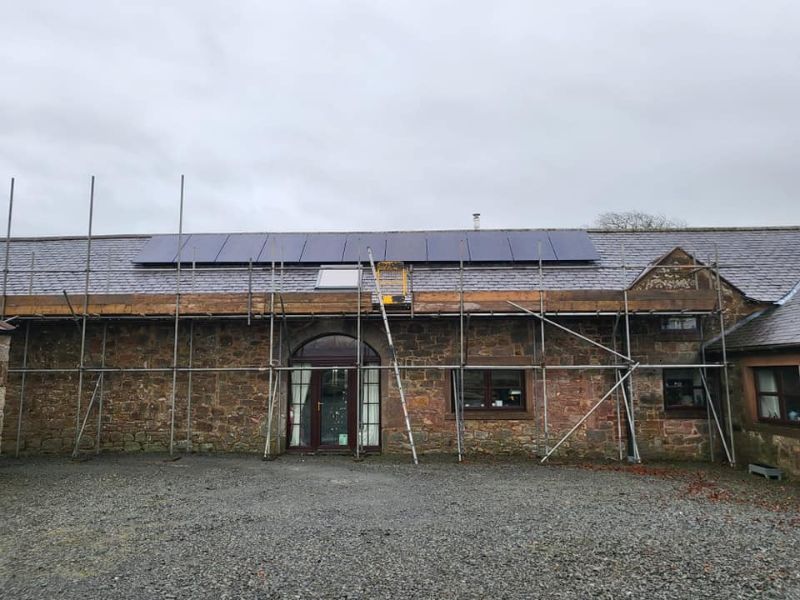
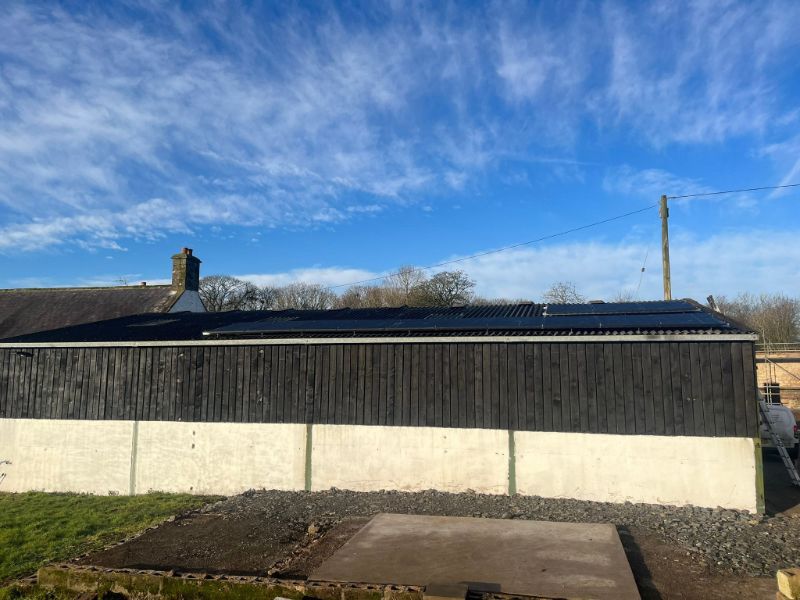
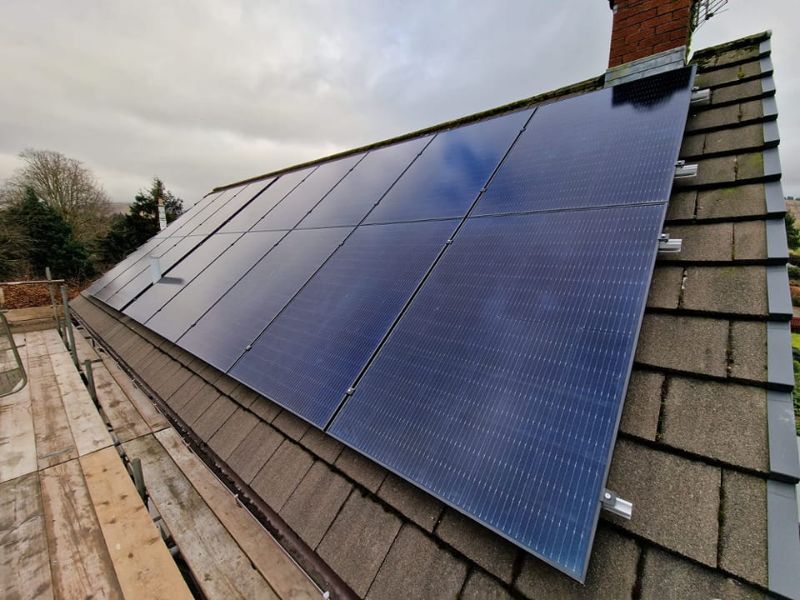
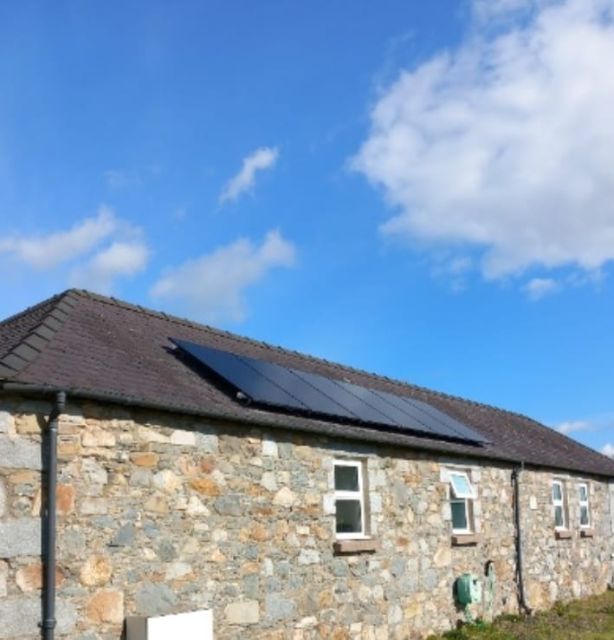
Solar PV Panels are generally roof mounted. This is the optimal position for installation to gain maximum sunlight exposure.
Most roofs are ideally situated and have the correct specifications to host a solar system.
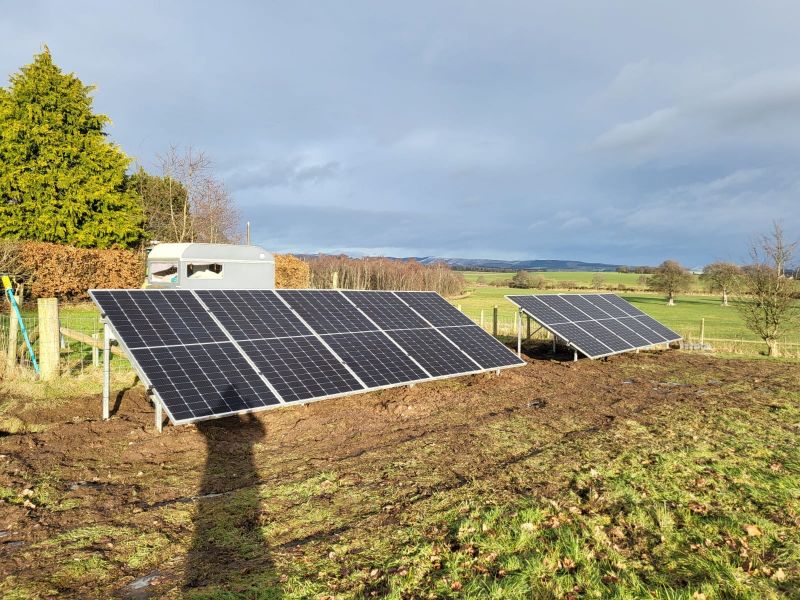
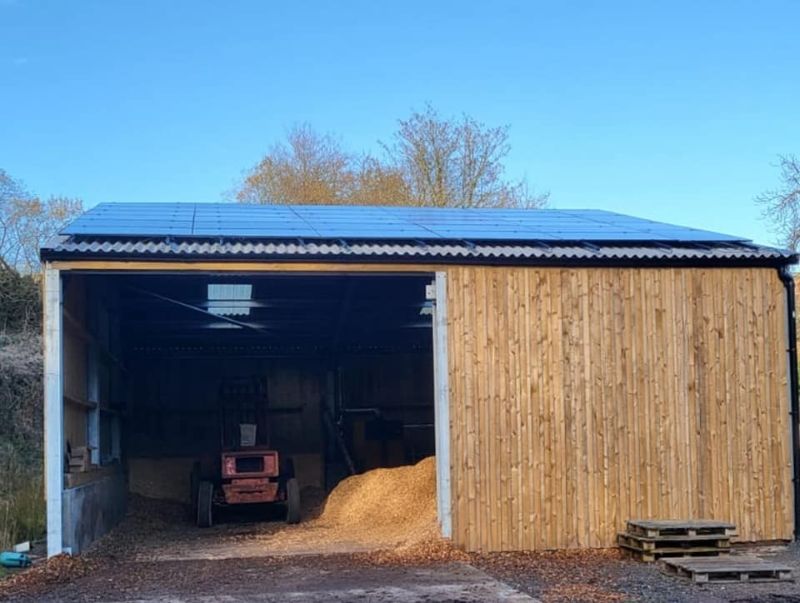
However, if roof installation is not an option, the solar panels can also be ground mounted.
This can be particularly useful for the following reasons:
- Making use of a large area of land when a suitable roof structure is not available
- Easy access for cleaning and maintenance
- Easier to extend your solar system at a later date if your energy needs change or grow
The majority of work carried out is roof installation. But how does it all work? What are the next steps once I opt for solar panel installation?
Here is a step by step installation guide from RJW Electrical Services Ltd:
-
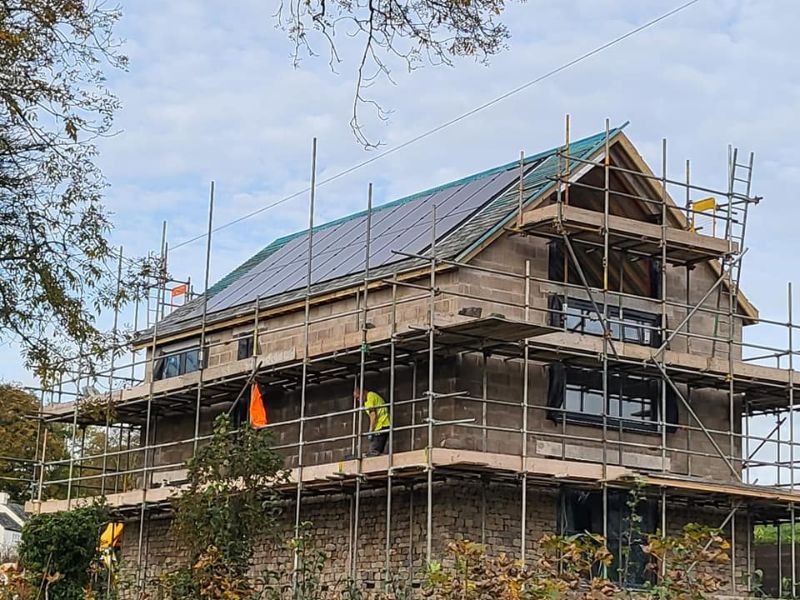
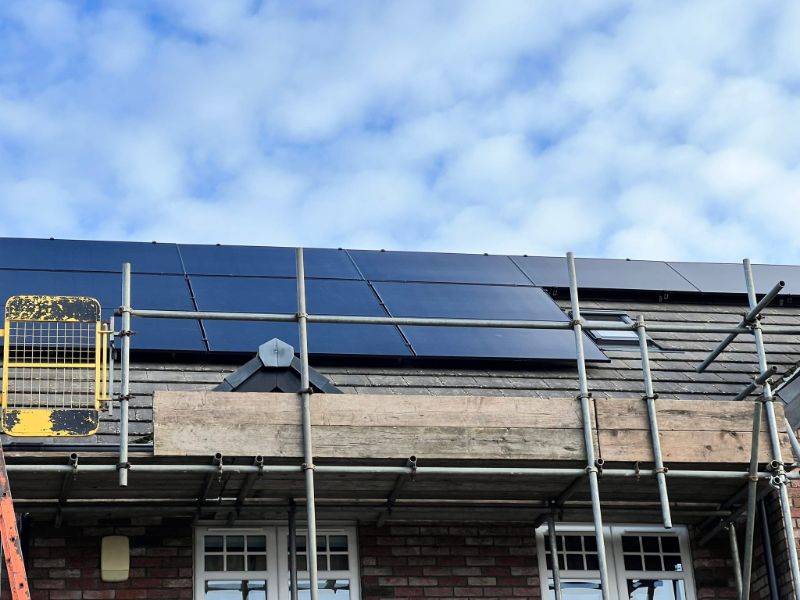
Set Up Scaffolding/ access equipment
If your property is more than one storey high, we will erect scaffolding to enable safe installation for both engineers and home or business owners.
On single story properties we use appropriate access equipment.
-
Install Solar Panel Mounts
A solar panel mounting system has to be set up.
This will support the base of the solar panels.
The whole mounting structure must be angled and positioned specifically to receive maximum sunlight exposure.

-
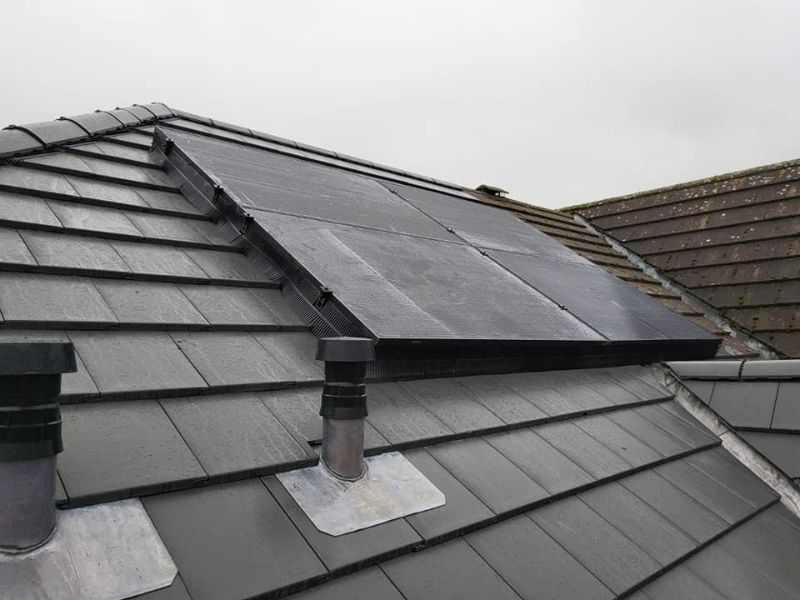
Install the Solar Panels
When the mounts are set up, the solar panels are installed and secured on to the mounting structure.
When working on a slated roof, we use a special type of slate bracket.
These are strategically integrated under the slates by removing and replacing them.
This makes sure they are attached to the structure underneath.
You may have seen our previous blog from last month:
"Solar Install: Price is What You Pay, Value Is What You Get'
This will show you exactly how the process is done correctly and safely.

-
Wire the Solar Panels
The next step in the installation process is to install the electrical wiring.
Whilst the panels on the roof are being installed, one of our electricians will be preparing the internal wiring and DC cables to attach to the solar panels.
In most cases, MC4 connectors are used because they are suited for all types of solar panels.
We will always make sure to turn off the household’s electricity supply during the wiring installation.
-
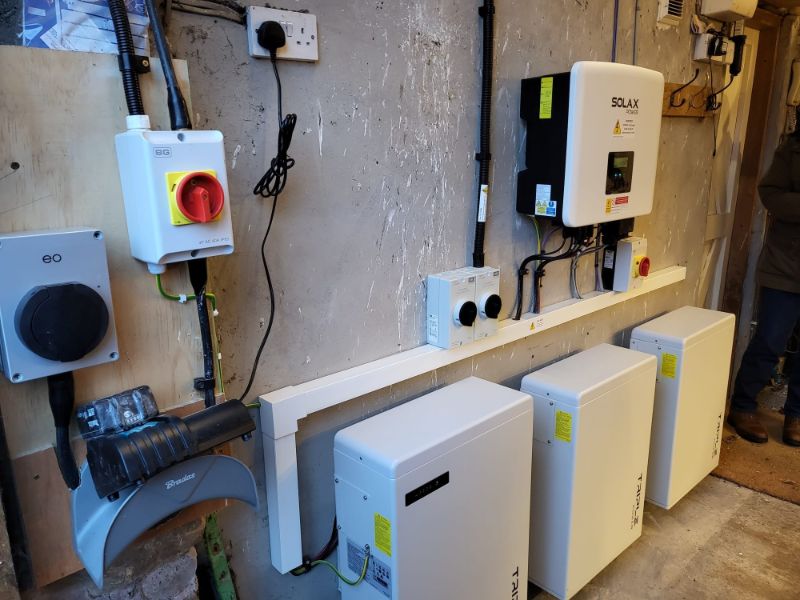
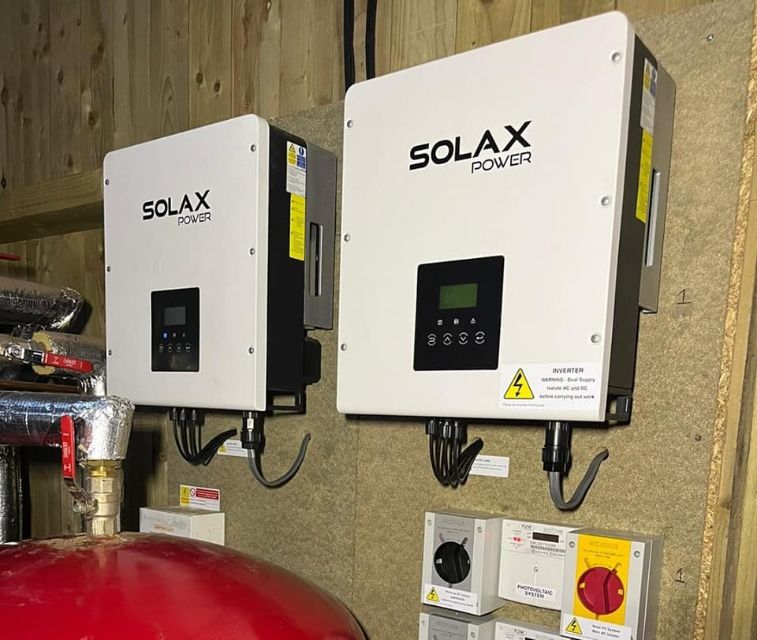
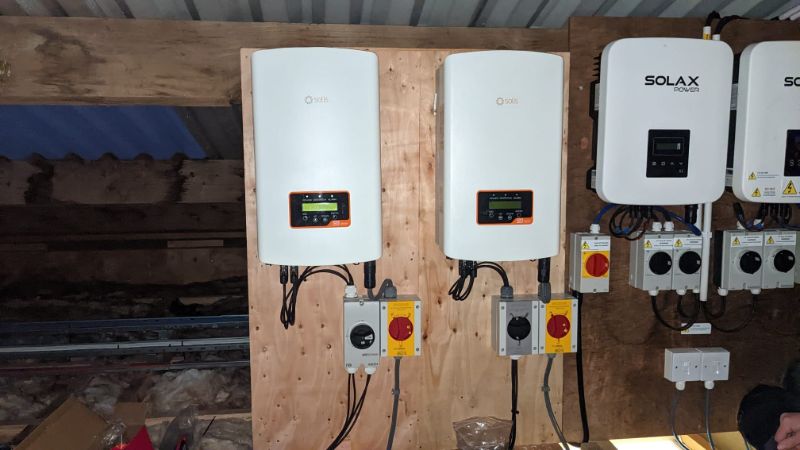
Install Solar Inverter
The solar inverter is now to be connected to the system. It is typically installed near the main consumer unit.
It could be both indoors and outdoors. Inverters are more efficient if kept in a cooler place.
If the inverter is outdoors, it should be kept out from the afternoon sun.
If it is installed indoors, the garage or utility room are usually the best places, since they stay cool for most of the year and have ventilation.
-
Bond Solar Inverter and Solar Battery
Thereafter, the solar inverter is to be connected to the solar battery.
The solar battery storage can save you from worrying about the lack of usable energy during cloudy times, it can also lower the solar battery storage system costs during installation.
-
Connect the Inverter to the Consumer Unit
The inverter should be connected to the consumer unit to enable it generate electricity.
A generation meter should also be connected to monitor the amount of electricity the solar panels actually produce.
You can use your computer or other device to check your solar system’s performance.
For example, you can check how much electricity you generate at different times and decide what time is suitable for using your washing machine or other utilities.
-
Start and Test Solar Panels
The final step is to switch the power on and test the newly installed solar panel system. After that, the PV solar installation process is completed.
The whole process will most likely be done in a day with minimal noise or mess.
Solar Panel Maintenance
Solar panels require very little maintenance.
However, to keep the system running as efficiently as possible, we do advise the following:
Clean twice a year
Before cleaning the panels yourself, you should consult with your installer about the warranty conditions. Some solar panel manufacturers could terminate the warranty if any self cleaning is done.
Service every twelve months
This is to make sure there is no damage to the panels and that the whole system is running to its optimum efficiency.
RJW offer a specialist 'Solar Health' package.

This includes annual service, cleaning and maintenance:
Visual inspection of the system
Visual inspection of panels (including use of a drone)
Complete electrical testing of the inverters, isolators, and protective devices
Conclusion.....
I think the importance of using a reputable, skilled and trusted solar company for your installation is clear after reading this.
RJW can offer you this and more.
We have a fantastic offer at the moment, too. A FREE Solar iBoost Immersion Controller with every installation ordered.
Scan the code below to begin your FREE, no obilgation quote and find out just how much you could be saving!
.png)